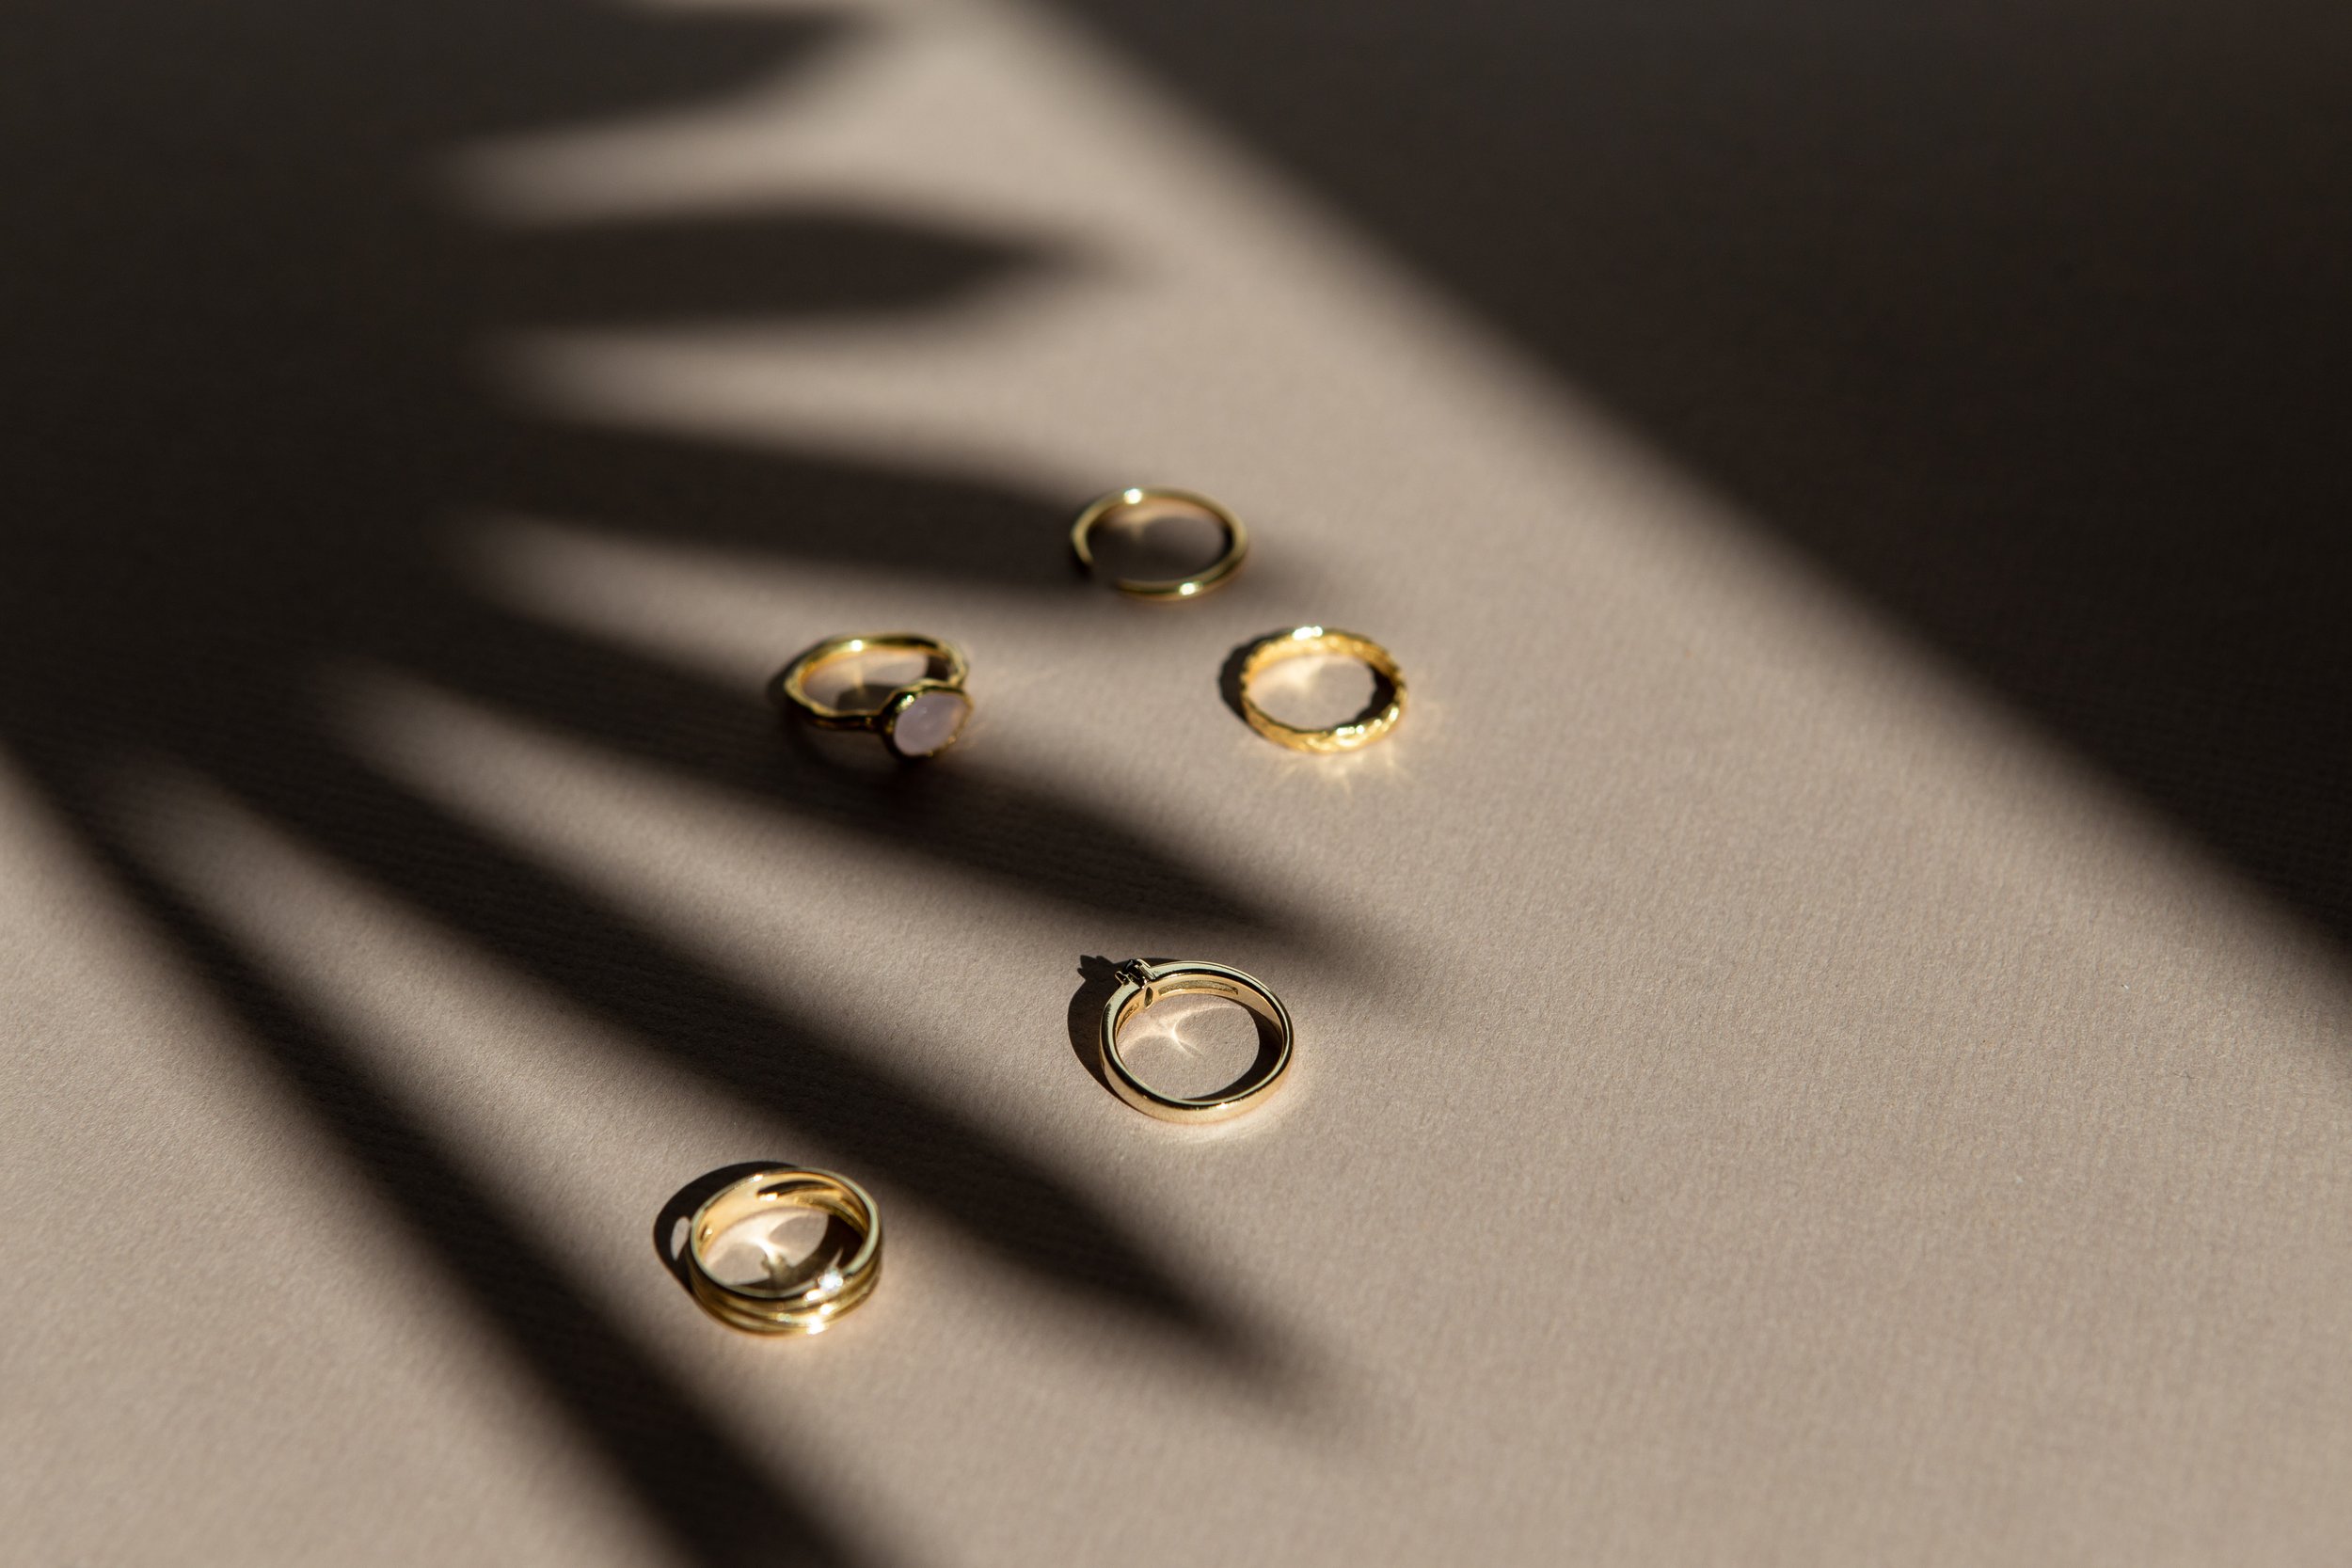
Tips for photographing and styling jewellery
It can be really challenging to photograph jewellery. Jewellery tends to be delicate, small, fiddly and creates distracting reflections. I’m sharing my best jewellery photography tips on how to create compelling images for your online store.
100mm macro lens
A 100mm macro lens is a game-changer for creating detailed jewellery photographs. It will allow you to get really close to small pieces of jewellery so you can capture all the details beautifully. At 50mm or even 70mm you might struggle to get a close enough focussing distance to really capture small details or precious stones.
The 100mm is a reasonably heavy lens, so I recommend mounting to a sturdy tripod so you can get the sharpest jewellery images without wobbly hands creating camera shake.
While a macro lens is definitely an investment, you can purchase kit second hand on sites like mpb.com. If you prefer to try out a piece of kit before making a purchase, there’s an app called Fat Llama where you can rent pieces from other photographers in your area.
Clean the jewellery beforehand
This might sound obvious, but clean the pieces before photographing jewellery. It’s easy to forget! Use lint free gloves to handle jewellery and clean the pieces with lint free cloth to avoid leaving pieces of fluff or other debris on the jewellery. There’s nothing worse than capturing lovely jewellery shots and seeing a smudge of a fingerprint or piece of fluff on the stone.
Blue tac
I always have blue-tac on hand for every product photography shoot, but they are especially useful for jewellery shoots. Use blue tac to stick jewellery down to the set, stand up rings, keep them hanging from rods/plinths/branches/stones…there’s nothing more annoying that a ring that keeps wobbling over!
Lighting for Effect
Great lighting is really important for any product photography shoot, but especially for jewellery where you want to highlight the intricate details and colours of the stones.
You can read about how to create diffused light using studio strobes in another post I wrote.
An important note when it comes to commercial shoots - the final photograph should be as true-to-life as you can make it. Don't get overly-excited in post processing by bumping up the saturation. Your customers need to see what they will be getting, including the correct colour of the piece.
You can use natural lighting or artificial light to capture styled sets of your jewellery.
Hard Light - you can use bright sunlight to create harsh shadows like the ones on the image below by holding some branches or dried flowers in front of the window. You can also achieve this look with artificial light (both continuous or strobes) using the same technique.
Diffused Light - If you want softer shadows to recreate more of a natural light look, you can shine your light through diffusion material, or use an umbrella octagon softbox to create lovely soft lighting.
Styling Props & Backdrops
It depends on the aesthetic you’re working towards, but I would generally keep the set ups relatively simple so as not to distract from the product. Jewellery is often small and delicate, so I would stay away from backgrounds that are patterned or heavily textured. You can invest in ring stands, jewellery boxes, or little styling plinths and arches to add interest in a subtle way. I also like to use dried flowers, linens or trinket dishes.
Good places to purchase props include H&M Home, Zara Home (not sustainable, but accessible) Etsy and vintage shops in your local area.
Helena is a professional photographer based in Bristol, specialising in product and food photography. She works with ethical and sustainable brands, creating joyful, story-telling product photos.


