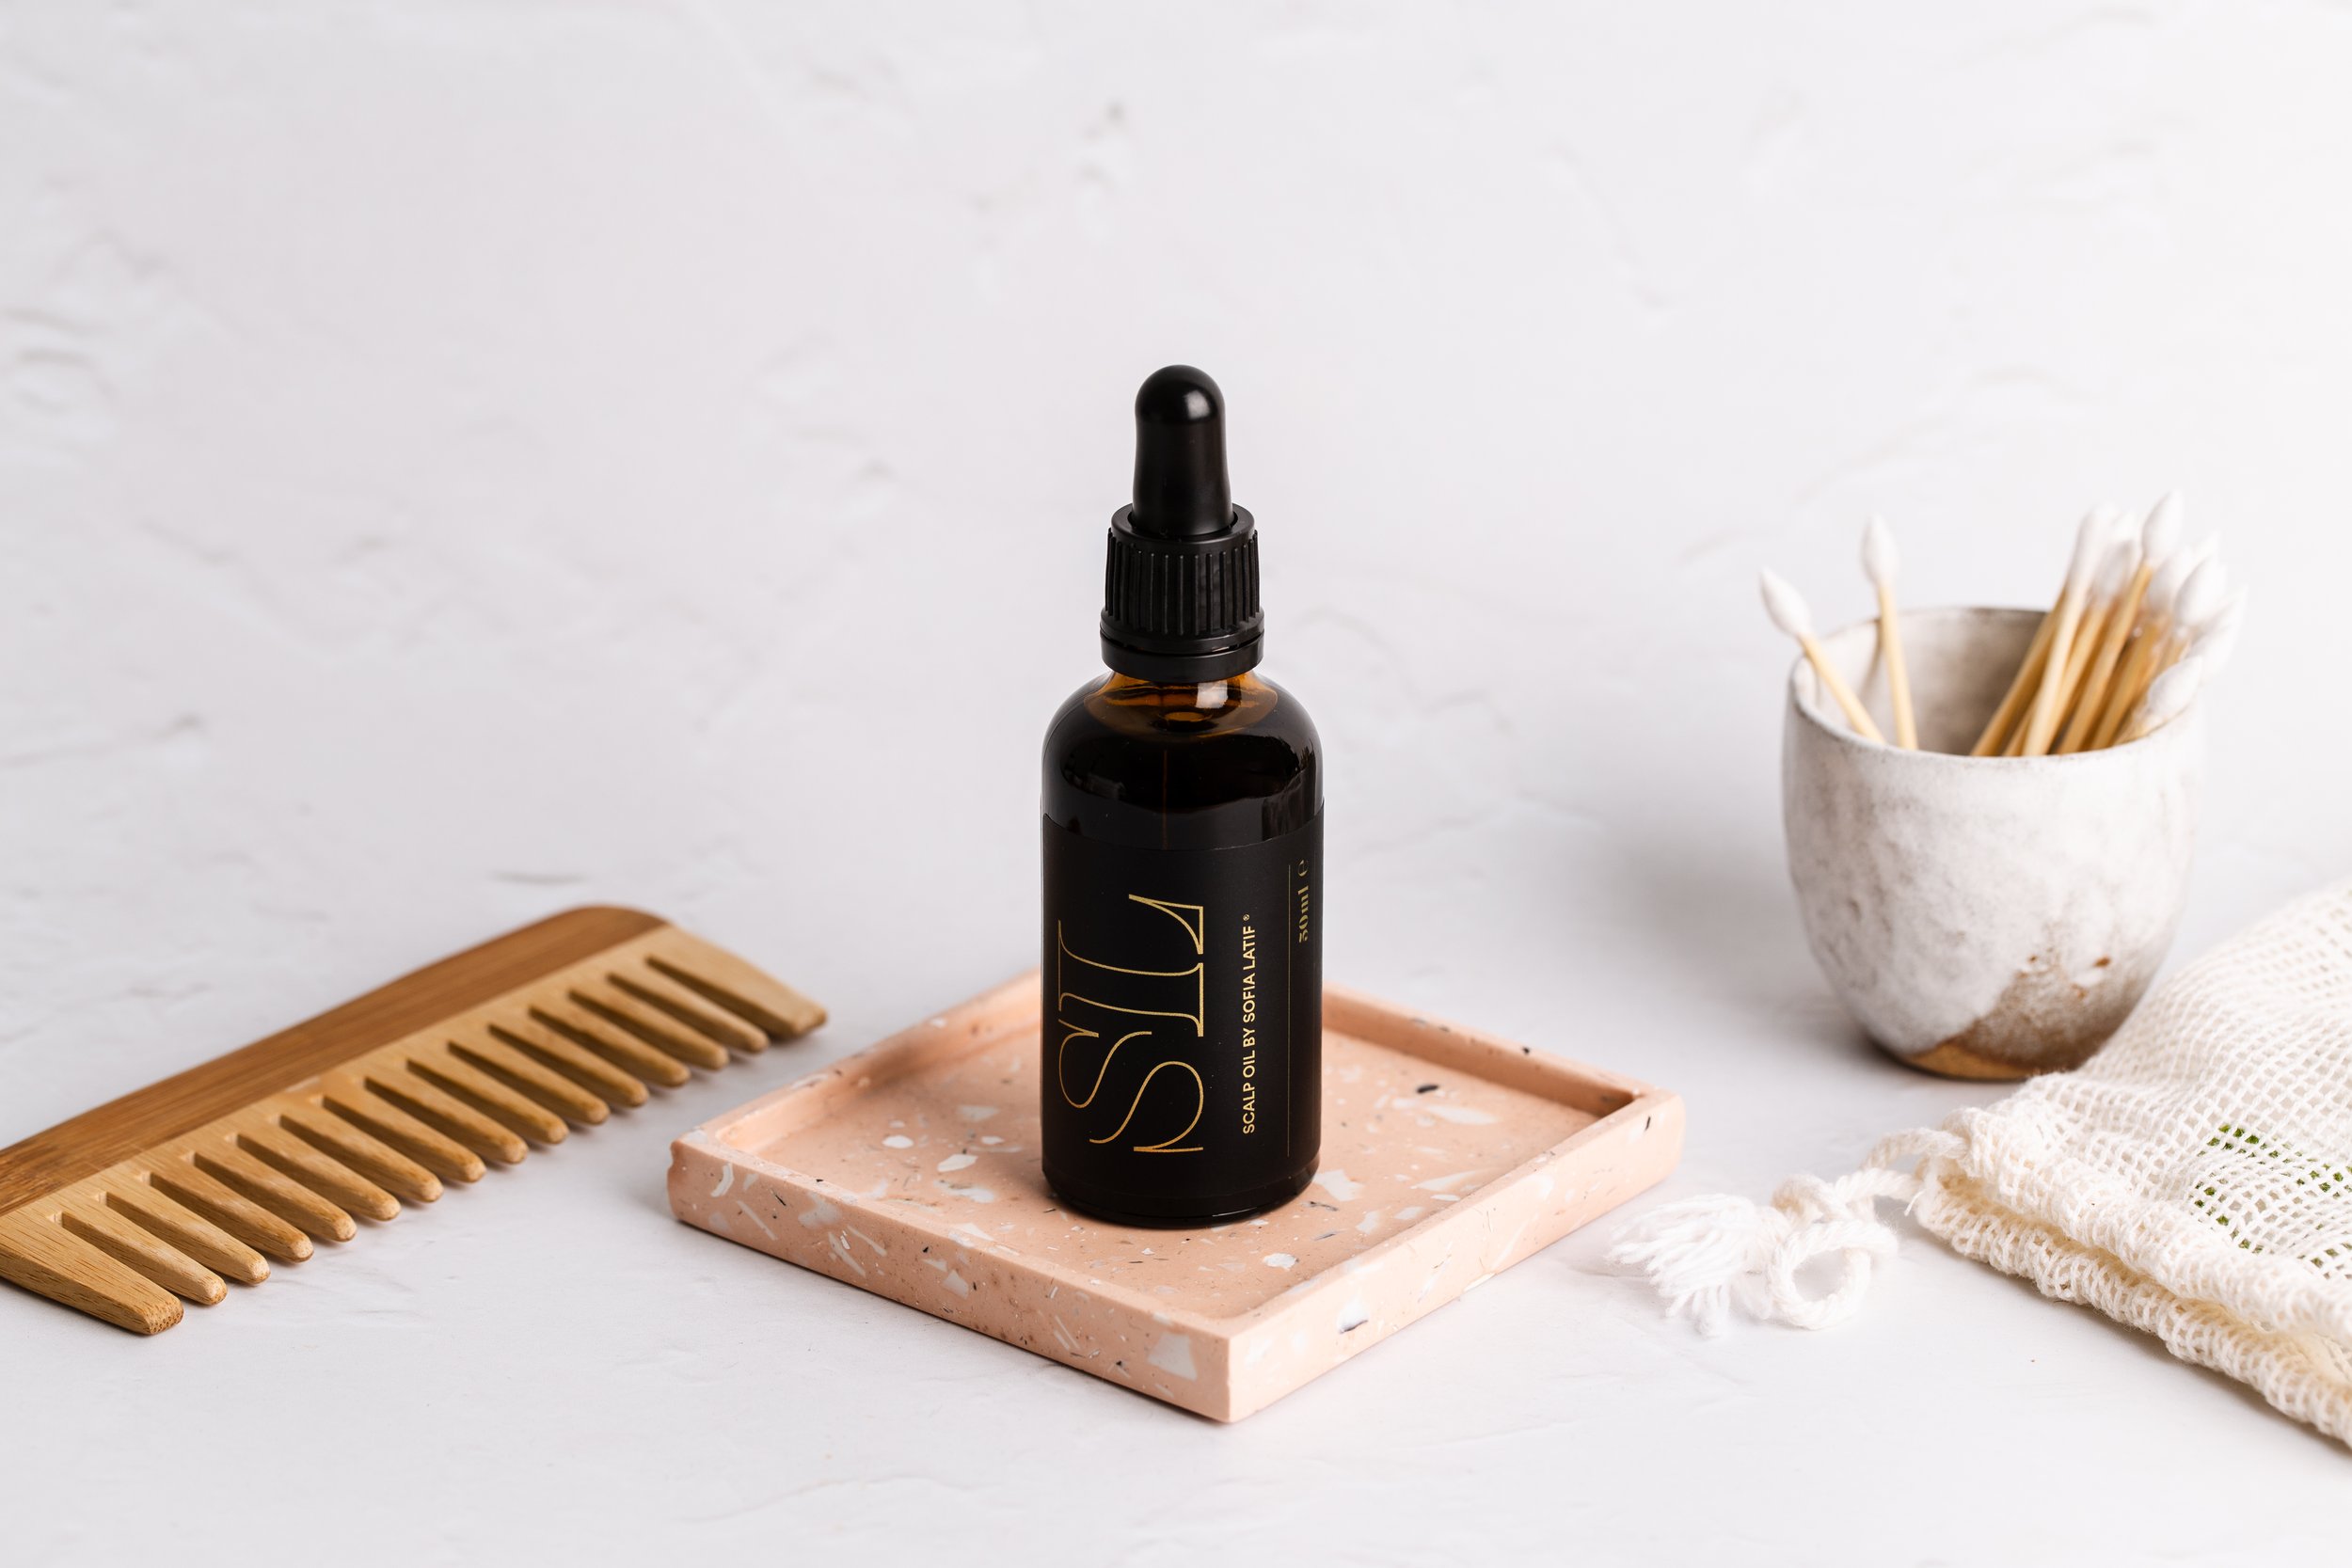
How to prepare for a product photoshoot
A successful and stress-free product photography shoot happens when everyone is prepared. Whether you've hired a professional product photographer or are doing it yourself, here's a list of considerations so that you walk away with images you can’t stop looking at.
What’s the purpose of the product photography commission?
The most important way to prepare for a product photoshoot is to consider what the main purpose is for commissioning the product photos, and what platforms they will be published on.
The main purpose of the product photoshoot might be to capture simply styled packaging shots on a white background for your online store. Perhaps the main purpose is to create styled product photos showing your product around a home for your social media or marketing brochures.
Whatever the reason, it’s important to know what you need and for which platforms, so that I can capture the right aesthetic, in the best aspect ratios.
When preparing for a product photoshoot, talk to everyone in your team about the desired outcomes and how everyone will be able to use the product photos. For instance, social media managers might require lots of portrait shots, whereas your web designer might need wide landscape images for website banners.
Attention to detail
When you’re preparing for a product photoshoot, attention to detail is really important. Take into account company guidelines on photographing your products. For instance, should the lids always be on or off, up or down? Should certain products or colours always be captured together? We can correct some things in the post production process, but it's best to capture everything as near-to-perfect as possible, in camera.
Inspiration Images
To create consistent content on your product photoshoot, it’s important to think about your brand colours. If you have a colour palette, send that to me so we can source backdrops, surfaces and props in complementary colours.
Sometimes it can be hard to put ‘visual things’ into words, which is where Pinterest comes in. Once you’ve booked your product photoshoot, we’ll create a joint Pinterest board so I can see your inspiration images. It's important to keep in mind what will resonate with your target audience. When pinning to the board, think about what you like about each image - texture, lighting, styling, props, overall feel, mood, colours used. You can leave a little comment on each pin which is helpful for me.
Sometimes I see that clients are pinning a mixture of different visuals, so it’s my job to help you streamline this into something that will be a consistent style, feels cohesive and fits with your brand.
A robust shot list
When preparing for a product photoshoot, write a detailed shot list. Consider all the images you need and write them down; that might be individual shots, a select number of group shots or pairings of your best-sellers or gift sets.
Aspect Ratios
Think about where you are going to use your product photography. This will help you decide if you need portrait, landscape, square, 4:5 or a specific ratio that’s unique to your website or online store. If you plan to use the images on multiple channels, you might need a mix of these aspect ratios. Be sure to look up the requirements needed for third party platforms that you sell on.
Different Angles
Think about the angles at which your product looks best. Some items look great as a flat-lay, but captured straight-on isn’t so flattering and vice versa.
Practicalities
Ok, here comes the boring bits about preparing for a product photoshoot, but equally important for a smooth product photography process.
Delivery times - If I am working remotely on your product photography, or you are sending items in advance, take into account extra time for delays and delivery. There’s nothing worse than your stock being sent to a depot when the shoot is just 24 hours away.
Extras - Bring multiples of your product. Sometimes the label is discoloured, has a stain, is peeling, or the lid is wonky. While we can fix minor issues in post production, we want to capture the best version of your products straight out the camera, so it doesn’t ever hurt to bring 2 or 3 of each item.
Leave plenty of time - If you are traveling to work with me at the photo studio or on location, it goes without saying, but leave plenty of time to anticipate busy Bristol traffic, it’s a stressful city to drive in!
To conclude…
When you're commissioning professional product photography, it’s super important to know how to prepare, so that you walk away in love with your new high quality product photos. The more planning and thinking you do, the better!
For more product photography tips, visit my the educational resources on my blog, where I cover artificial light, photo editing, and more.
Helena is a professional photographer based in Bristol, specialising in product and food photography. She works with ethical and sustainable brands, creating joyful, story-telling product photos.


