How to style and shoot ice cream
There are certain foods that stand out in my mind as challenging to photograph, and ice cream is certainly one of them. It’s beautiful, colourful and fun to work with (not to mention delicious eating the shoot leftovers) but my god, it’s MELTY and can be logistically complex.
I am lucky to work with the incredibly delicious vegan ice cream brand, Beau’s Gelato - if you’re in the UK check out their pint club subscription offers for home delivery. I’ve been shooting with them for about two years alongside the always incredible Harriet Langsbury stylist. I want to share the culmination of our knowledge from these happy ice cream days, so you can shoot ice cream without melting down yourself.
First up, an important legality that sounds kind of obvious, but it’s important. If you’re doing a commercial shoot – photographing for advertising purposes – what you capture has to be the actual product they are selling. You can’t use another brand’s ice cream, you can’t use fake ice cream – it has to be the real deal. This is called Truth in Advertising.
Ok, so let’s dive into the tips:
Get more ice cream than you think you need
If you have 6 different flavours to shoot 6 different scenes, make sure you have at least two tubs of each flavour. We’ve found that once you’ve started digging into a tub and it’s got a little melty and soft, it takes a long time to re-freeze. You’ll want another, fresh, frozen tub for any remaining shots on the list and anything you might need to reshoot, which can happen a lot more with ice cream because of the nature of needing to shoot quickly, and sometimes you just don’t get what you want the first time around.
Arrange the delivery in advance
Clear out enough space in your freezer to house however much ice cream is being shipped to you, and make sure the delivery arrives with you at least 24 hours before the shoot. Don’t put the ice cream in a deep freezer - colder does not equal better - it will be rock solid and take a long time to thaw out to the point where it is scoopable.
A regular freezer at 0 degrees is perfect. I can’t speak for all ice cream brands, but in our experience, taking it out for around 10 minutes before scooping works well.
Tip: If your ice cream is super frozen and you need to get that shot quickly, heat the scoop in really hot water to help soften the ice cream as you scoop it.
Pre-scoop
If some of the scenes on your shot list require scoops - I’m thinking sundaes, piled up scoops in bowls, rows of repeating scoops - I’d recommend pre-scooping dollops ahead of time and freezing them in advance on a tray. If you need three scoops of chocolate for a sundae, perhaps pre-scoop six, so that you have extra, just in case. Depending on how you work, you might even want to use three as a stand-in while you style, and then swap them out for the final shot with the extra three.
Style first, ice cream second
Have a clear idea of what scene you’re setting up, get it all in place, and then add ice cream last. Otherwise, you’ll have a melty pool of ice cream by the time you’re ready to take that final shot.
Tip: Ice cream with a higher fat content melts faster. So, if you’re shooting with good quality vegan ice cream, unfortunately it’s going to melt pretty quickly because of all those nuts!
Find the perfect scoop ahead of time
Harriet now has an array of amazing ice cream scoops after working with me on Beau’s shoots for two years. She found hers in a variety of places - everywhere from the local supermarket through to car boot sales and Etsy. There’s various kinds, some with fancy release latches, some really simple and old-school - find the one that works for you to deliver that perfect scoop and perhaps practice in advance.
Ask for empty tubs
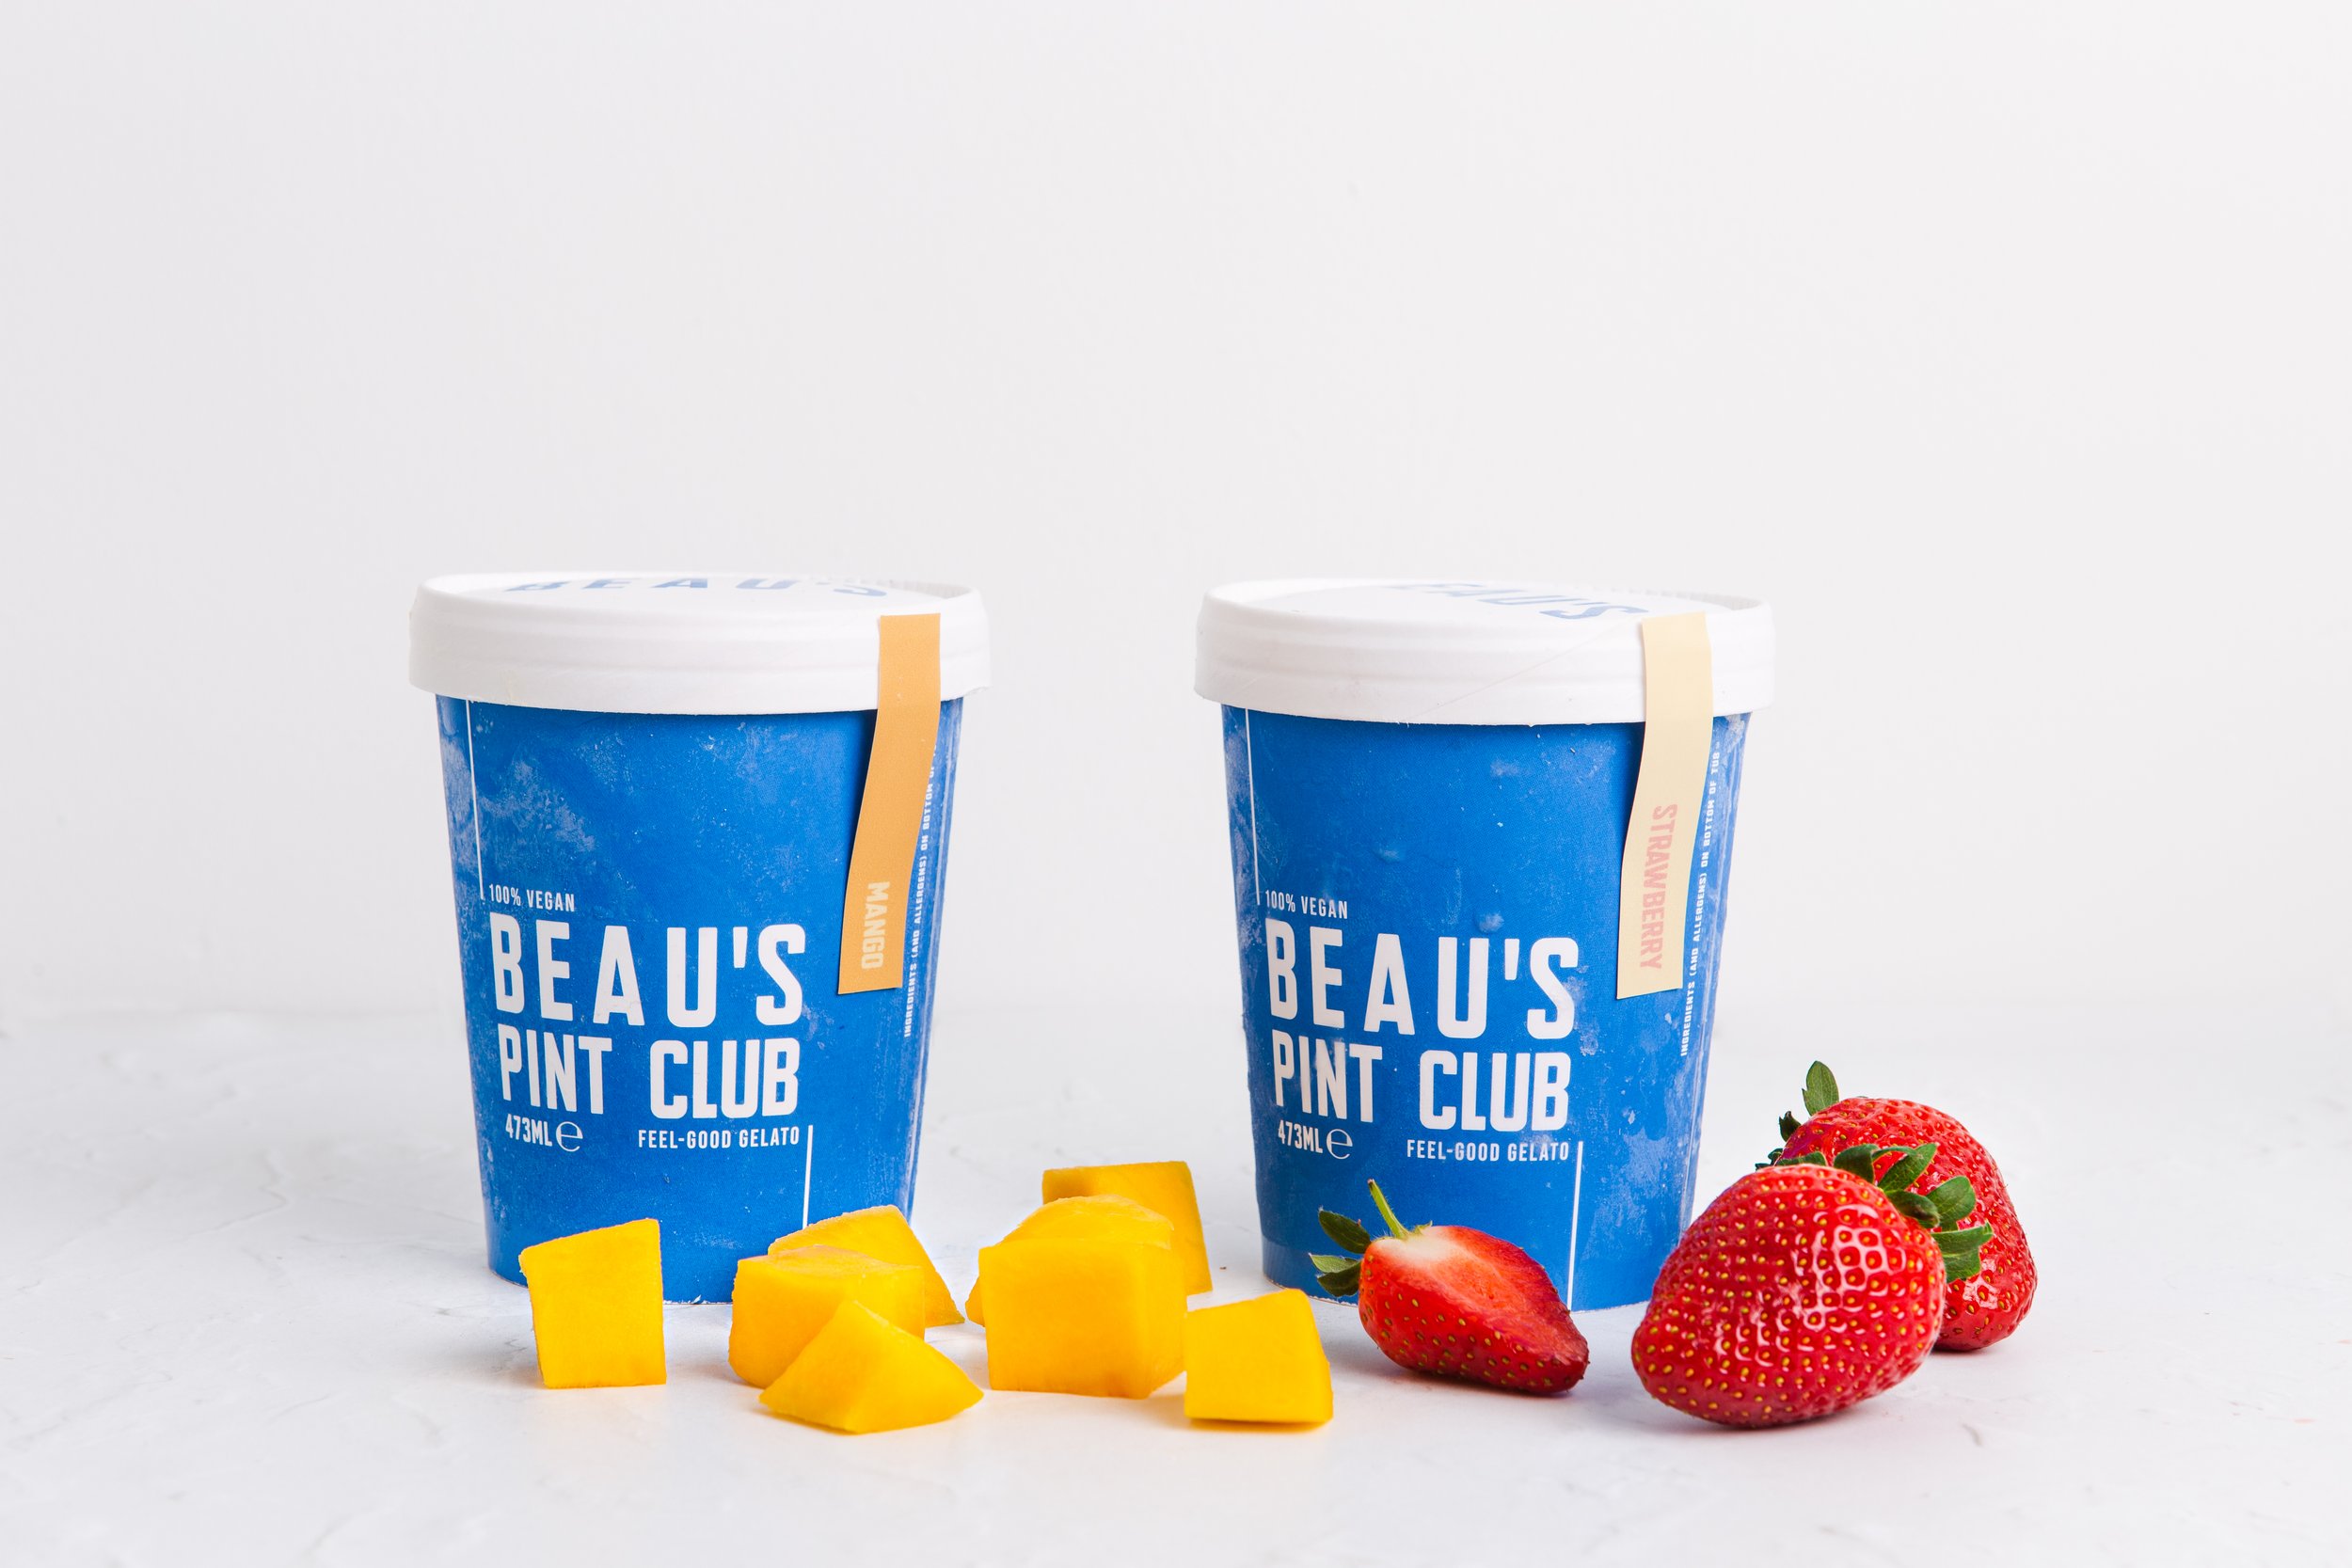
If you’re shooting for a brand, most likely they’ll want shots of both the ice cream, and the packaging. It will be useful to have a range of empty tubs that you can shoot without worrying about ice cream melting inside it. If they’ve got the lid on in the shots, no one will be any wiser. These tubs below are empty, and we spritzed the front with water from a spray bottle to get that special ‘defrosting from the freezer’ look.
How to make your ice cream look beautiful
From light and airy to dark and moody, high summer with high contrast to cosy and warm in the winter, there’s always a perfect time for ice cream and hundreds of moods to capture it in.
I’m going to take you through the key things you want to capture and highlight when it comes to photography ice cream.
Texture
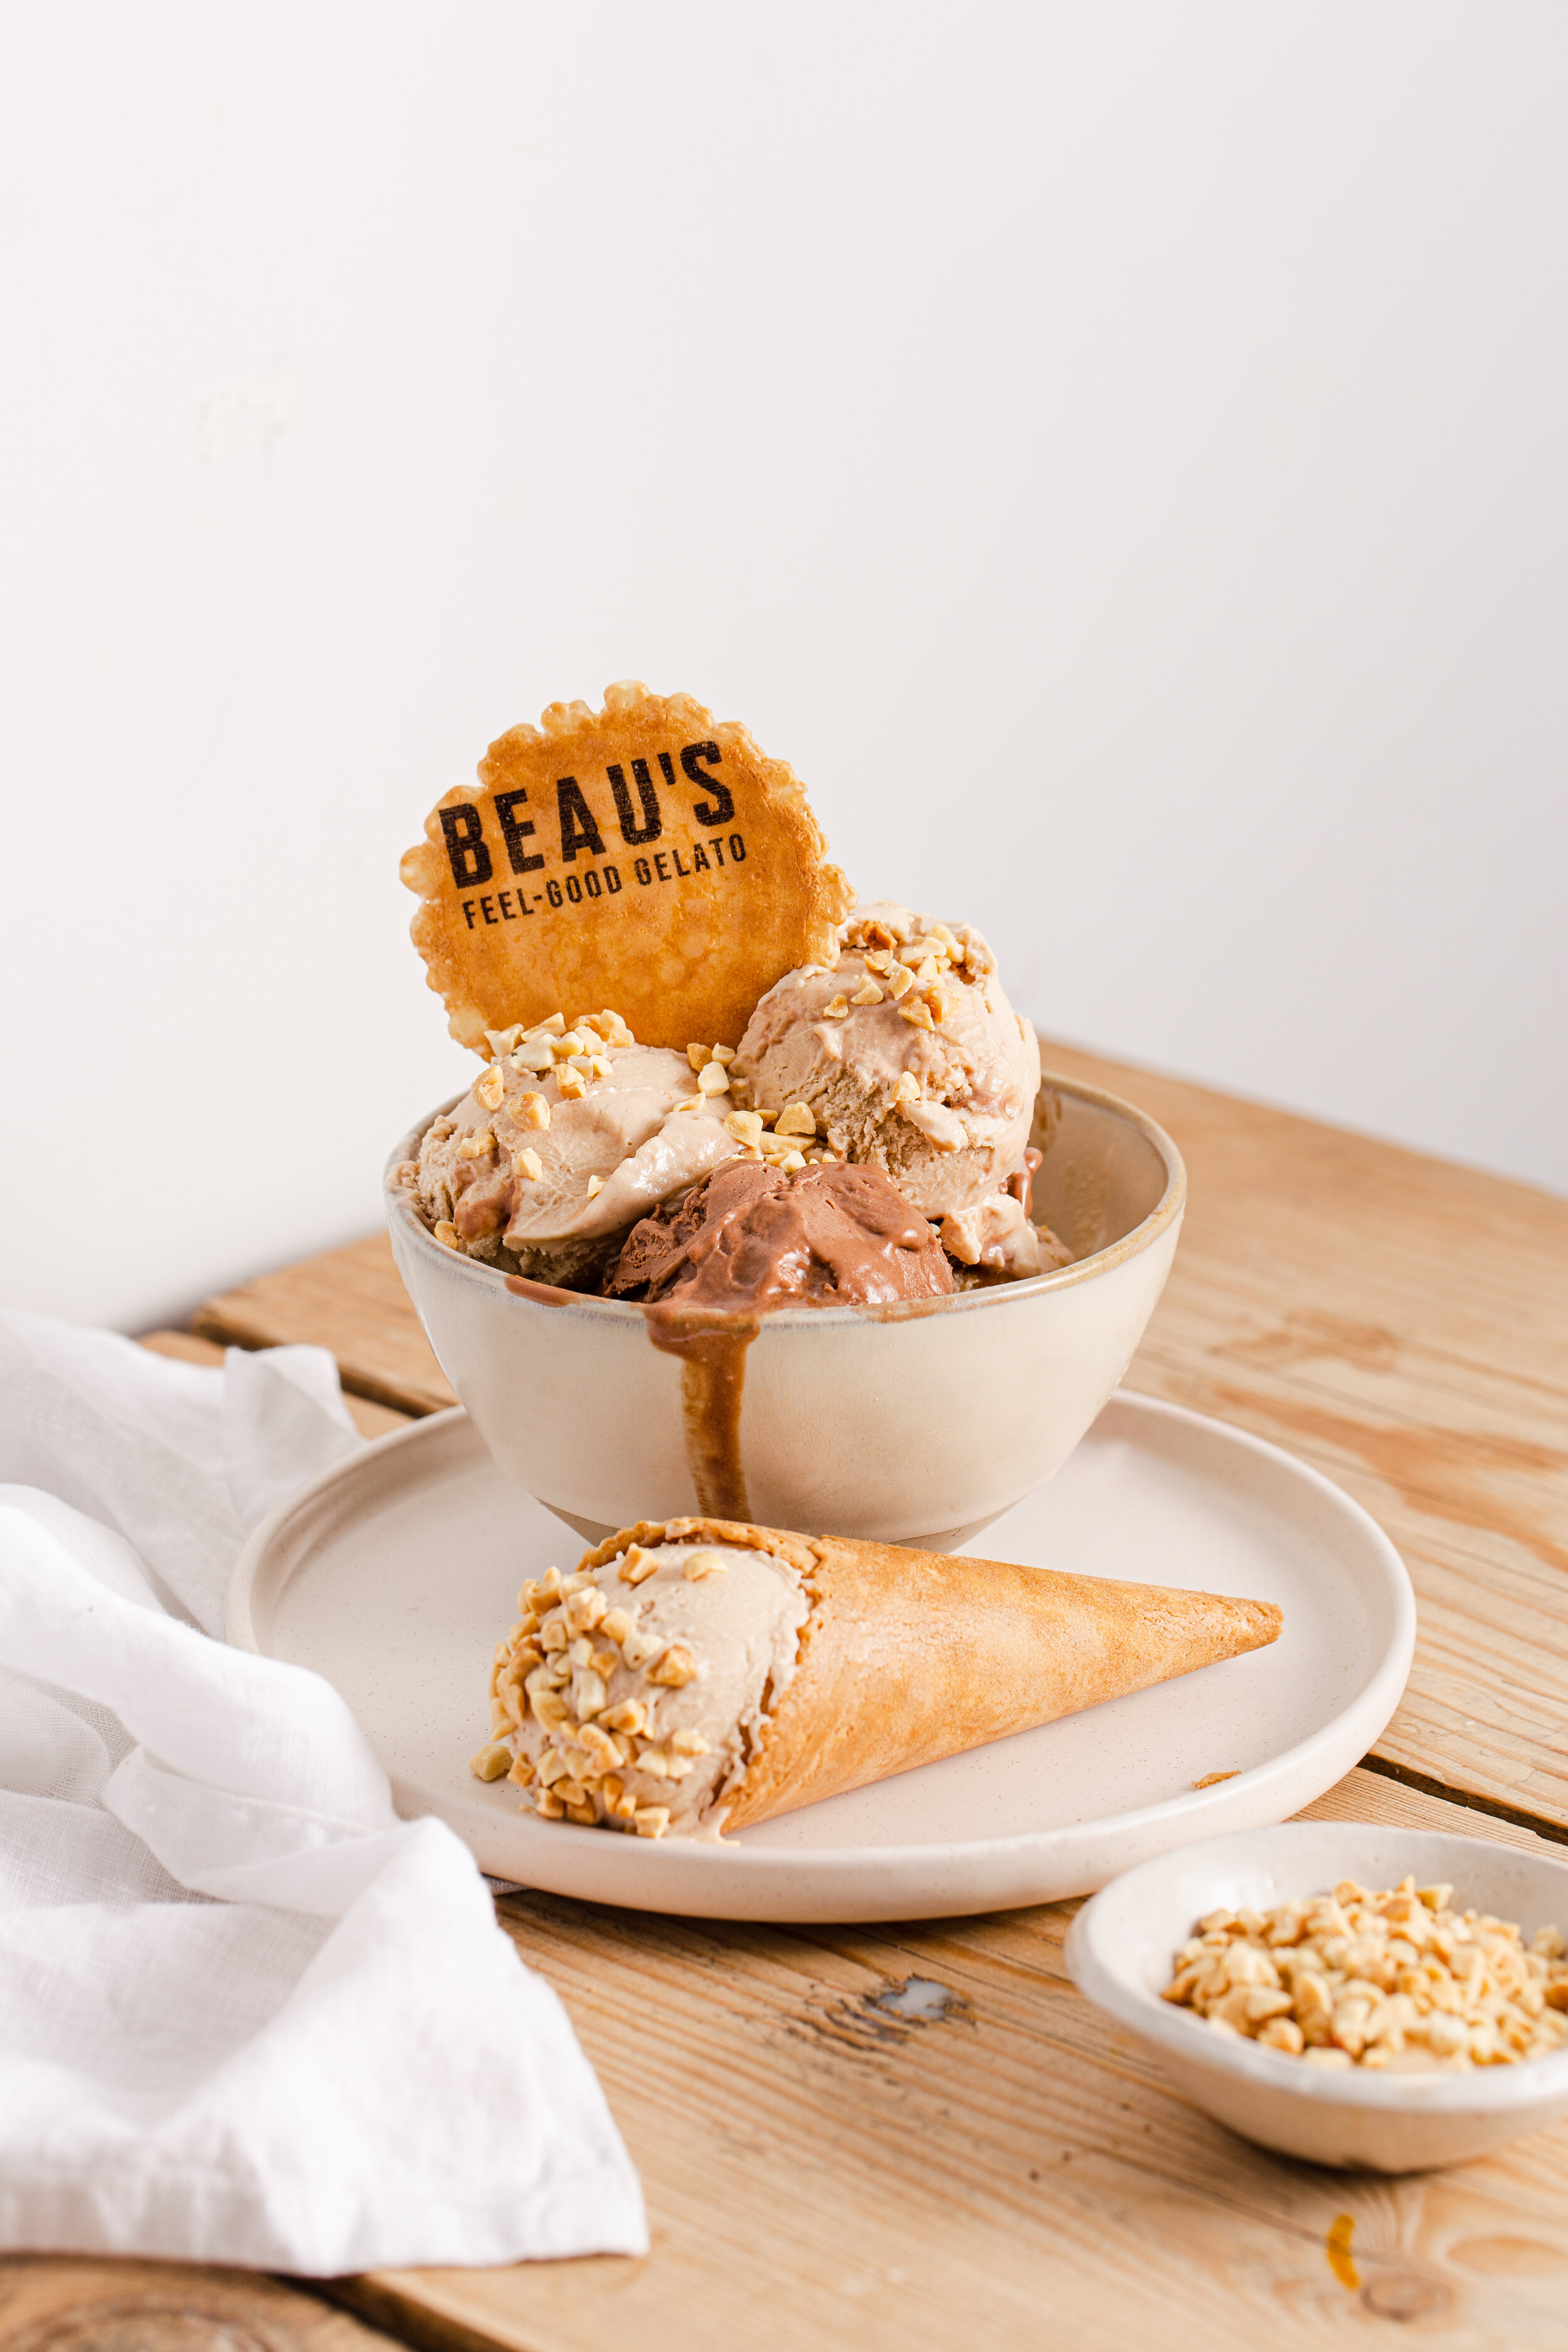
What are the flavours in the ice cream? Pull out the key ingredients and make them visual. From fat juicy strawberries through to grated chocolate and crumblings of peanuts, what’s inside the ice cream that will make the viewer want to reach in and grab it?
Drips and Pours
You know when the ice cream has been out for just a few minutes too long and it’s starting to melt and it’s all gooey and delicious? When someone sees a softening ice cream that’s dripping over the edge of the cone or bowl, they know how that’s going to taste.
What toppings are involved? Try to capture a delicious dribble or pour of a syrup or sauce that will cover your ice cream.
Hands
Adding a little bit of movement into the frame, like a hand reaching in to take a scoop can make the image feel more dynamic.
Voila! Those are my main tips for planning and executing an ice cream shoot. Have you got any tips I’ve not included here? I’d love to hear your experiences shooting this subject - it can be a challenging one!
Join me on Instagram to continue the conversation or sign up to my mailing list to receive your free guide to composition and my styling kit checklist!
Helena is a professional photographer based in Bristol, specialising in product and food photography. She works with ethical and sustainable brands, creating joyful, story-telling product photos.


